Users - Manage Users
Upon installation, the Aparavi system generates an Administrative account with full permissions, enabling the addition/removal of users. Administrative users can set custom permissions for precise control over user access to specific nodes.
Adding a User
The original administrative user account or any other accounts that have been created that have been given administrative privileges, are able to add new users to the Aparavi system.
- Choose the Organization from the left navigation, ensuring administrative privileges.
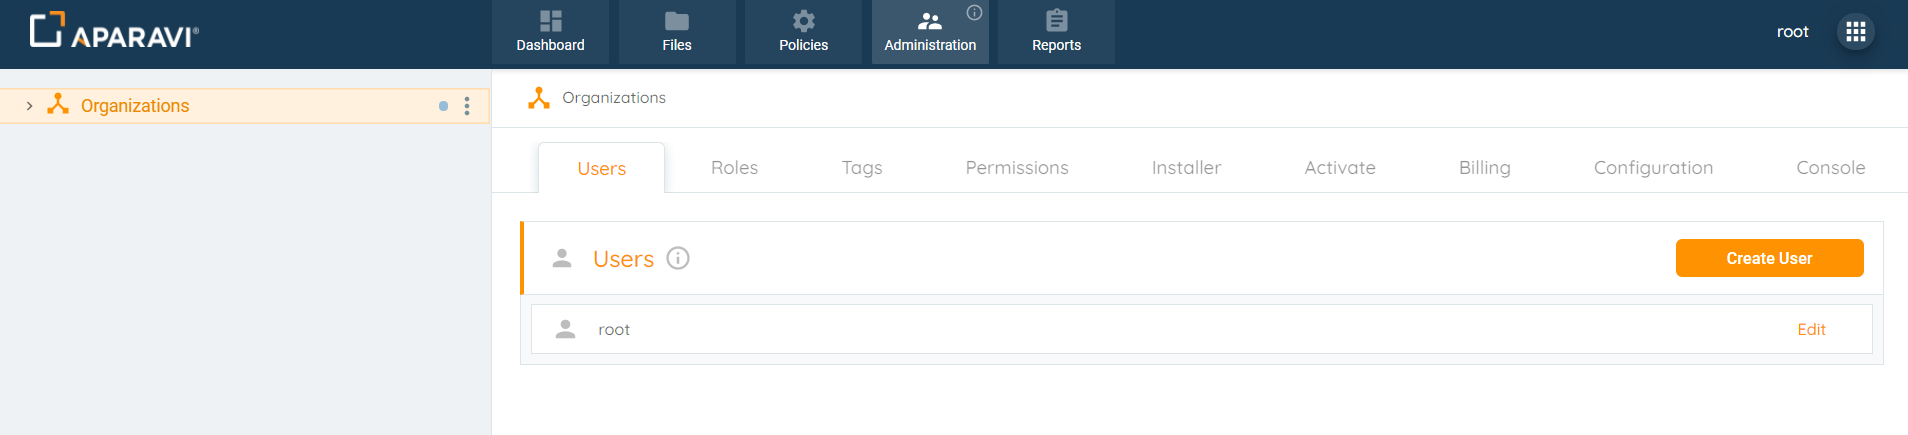
- Navigate to the Administrative Tab and click on the Users subtab.
- Click the Create User button in the upper right corner, triggering the Create User pop-up box.
- Fill in user details, including Username, Email Address, Mobile Phone Number, and activation preferences.
Click Ok to create the user account.

- Upon confirmation, the Create User pop-up box closes, and the new user is listed under the Users subtab.
Note: New users are automatically assigned the "Everyone" role, granting access to all functions except the Administration tab. Role adjustments can be made if needed.
Edit
Once a user account has been created, it can also be edited to reflect new options such as adding new permissions to the user, changing the password and many more features.
- Select the Organization from the left navigation with administrative privileges.
Navigate to the Administrative Tab and click on the Users subtab.

- Click the Edit button next to the user's name, triggering the Properties of [Name of User] pop-up box.
- Make desired changes inside the pop-up box.


- Click OK to save the changes. Upon confirmation, the pop-up box closes, and the changes take effect. An alert appears in the bottom left corner.
- To view updated changes, click the Edit button next to the user's name.
Delete
Once a user account has been created, it can also be deleted. Once a user account has been deleted, the user will no longer be able to access the Aparavi system.
- Choose the Organization from the left navigation with administrative privileges (yellowish background).
- Navigate to Administrative Tab > Users subtab.
- Click Delete next to the user's name.

- In the Delete pop-up box, click Delete in the bottom right corner.
- Confirm, and the pop-up box disappears. The user is removed from the Users subtab.

Assign Roles
After a role has been created, it can be assigned or removed from existing or newly added users.
- Select the Organization in the navigation tree with Administrative privileges.
- Navigate to Administration Tab > Roles subtab.

- Click Edit next to the desired role to access the Properties pop-up box.
- In the pop-up box, manage Assigned Users by selecting or deselecting checkboxes.

- Click Ok to save changes; an alert confirms the update.
- Verify the Role application in the Users subtab by checking the User Roles field in the user's Properties pop-up box.
