Getting Started
Logging into the Aparavi platform initially will present you with the Dashboard view. There are three distinct areas within the Aparavi Platform, they are:
- Menu Bar
- Object Tree
- Current View
-
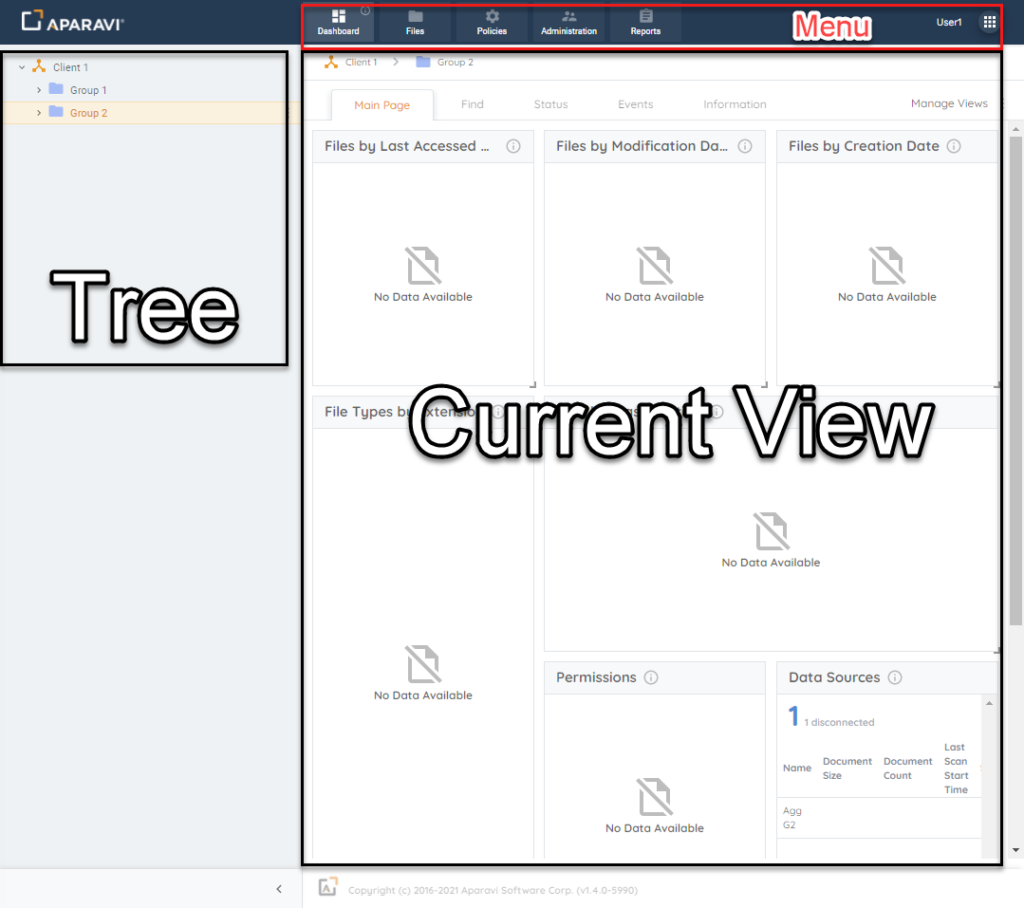
Navigation Areas - The Menu bar has current user Profile and Support and Logout options in the upper right corner. There are also six distinct options on the Menu bar, they are:
- Dashboard
- Files
- Policies
- Administration
- Reports
- Actions
-

Menu Bar
- The Tree View expands to show the Aparavi Aggregator and Collector architecture.
- Choosing a new menu option changes the Current View window. It depends on both the menu and the selected object in the tree. Check specific sections for more details on each menu choice.
- The Object tree is unique to each environment and grows as you add objects to your Aparavi deployment. Access administration options at the top client level by clicking the three dots next to the client or right-clicking on the object.
-

Navigation Areas - Selecting Add Object or Policies opens an extra menu, changing the object tree. The available options depend on the selected object, and various objects can be added, as listed in the table.
-

Object Types


NOTE: Some sub-objects will require additional configuration or additional installation packages. Refer to the Overall Architecture & Preparation section for guidance on any objects that require installation packages.